

The First Project: Rudder! --Rudder Blog Post #1 - wood Butchery
- Alan H.
- Jan 12, 2019
- 2 min read
Updated: Jan 13, 2019
January 2019: The old one was so warped and ruined that it could only serve as a template for the new one.

It's hard to steer with a rudder that has a huge bend in it!
There's an empty lot down the street with some really nice 2-inch thick redwood. The wood has been sitting there for a couple of years, but it's still in very good condition. l "liberated" a few pieces, again. Early in 2018 I had made an emergency rudder for my S2 7.9 sailboat from this material and it had worked out well. I figured that I could repeat the process for the Piper.
The wood is on honest 2 x 3 inches, and measuring the original Piper rudder suggested that it needed to be 2 inches thick, so that worked out well. I laid the old rudder down on a stack of redwood pieces and drew the pattern. Then they were glue'd together with PL Preminum, a really good polyurethane glue that I used to use when I was competing at the Highland Games - I would fix cabers with the stuff! I also used this to glue-up the emergency rudder. The rudder blank was glued-up on January 4th, 2018. I cut out the basic shape on January 12th.

Clamps! Any woodworker will tell you that you can't have enough clamps, nor can you have too many big ones, or too many small ones!

The basic shape-cutting-out process is pretty simple as this rudders profile is made of straight lines.

Th final profile... The leading edge is to the right. I do all my "woodwork", and I use that term very tongue-in-cheek, in my driveway or the floor of my garage.

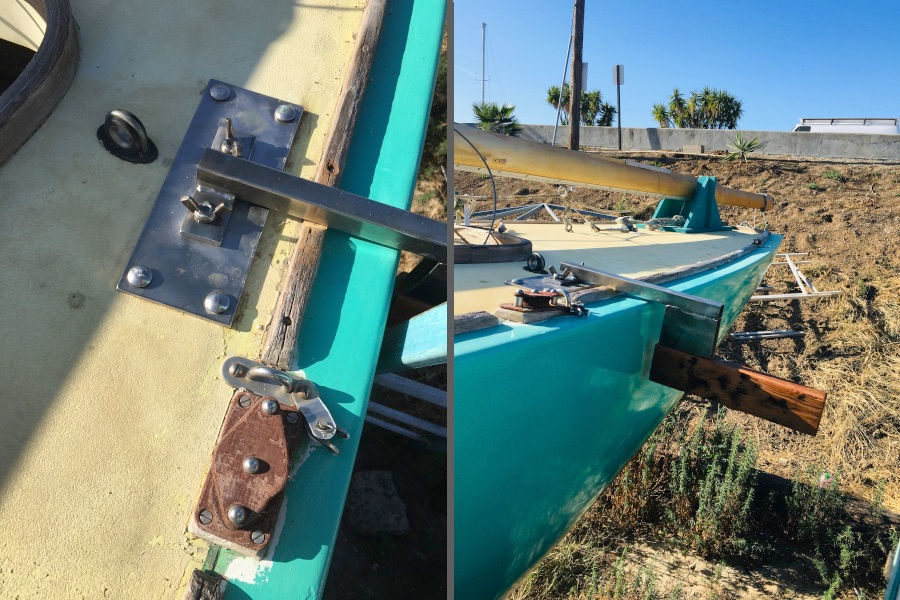
This rudder has a stainless steel post that connects it to the tiller head. That post is sunk into the rudder and a couple of big bolts go through it and into the wood. That provides the connection between rudder post and the blat surface of the blade. I will have to drill the top of the rudder to accept the post. I will have to do the same thing at the bottom, where another post attaches to the gudgeon. The gudgeon is bronze, so the lower post, which I didn't get when I bought the boat, will have to be made of bronze. This will be Rudder Blog Post #2
Once the rudder is shaped, it will be sheathed in triaxial fiberglass in epoxy. That will probably be "Rudder Blog Post #3"!


Comments