

We Have A Rudder!! (and floorboards)
- Alan H.
- Sep 30, 2019
- 3 min read
After six months of work, the rudder is installed, at last! The final installation went pretty well, with a minimum of cursing and only a few minutes of sandpaper-ing to ease the final fit, at the upper end.
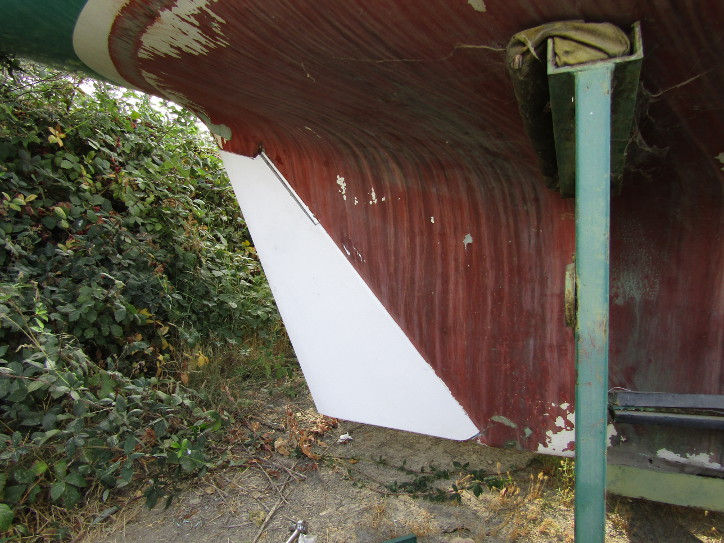
The white polyurethane paint is kind of shocking next to the old red anti-fouling paint but at some point all that will be ground/sanded off, and there's white paint below it. I will probably take the boat to the yard next door to where she is stored and have them do that nasty job!
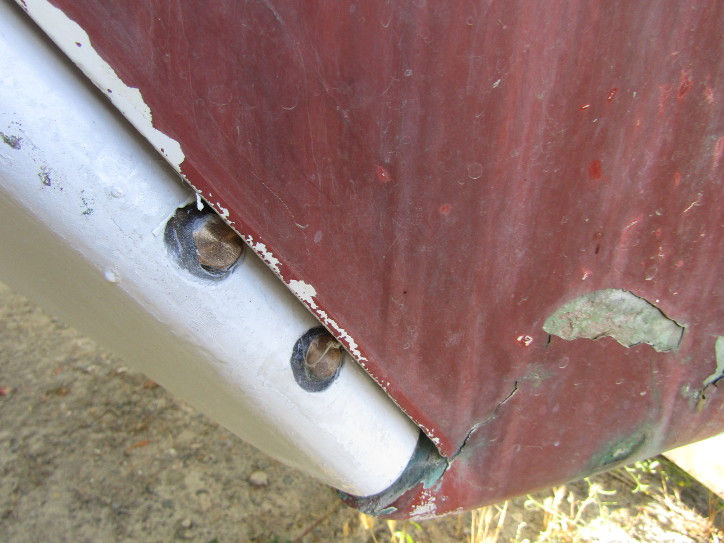
Here's the bottom of the rudder. The bronze post from the last blog update is inside the rudder, and bolted in with the two bronze bolts you see here. I have to say, decent sized bronze lag bolts are ~Expensive~. Anyway, that is hardly "fair" but the leading edge of the rudder is behind the keel until the angle that the rudder is turned is much father that I'd ever move it anyway, so I doubt it generates much turbulence. Everything is sealed in, watertight, with gobs of silicon.
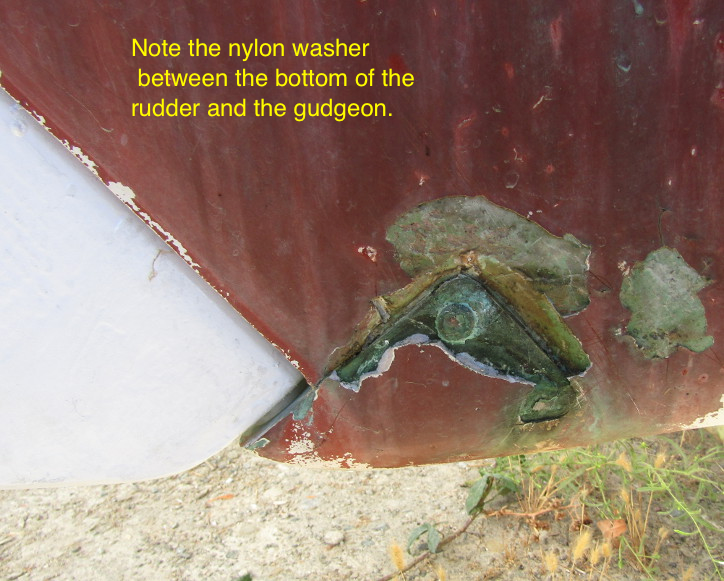
The fairing "stuff"....probably polyurethane from the 70's was pulling away from the hull so I "encouraged" it with a screwdriver. Enough chipped away that you can see the beefy bronze fitting and the hammered-over rivets that hold it in place. The rudder post fits inside the hole in that fitting, and there's a plastic bushing that allows things to rotate smoothly. There is no actual contact of the gudgeon and the pintle pin. The bushing and the nylon washer you can see above, separate them.
At the upper end, three 5/16th. stainless steel lag bolts hold the rudder to the shaft, and they are set in epoxy, within the rudder blade. That is NOT coming off! In fact I'll have to heat those lag bolts to melt the epoxy if I ever need to get the rudder off.

You can see the rudder post "cap" at the top of the leading edge of the rudder. The rudder post is underneath that cap. Four small stainless steel screws hold it to the rudder body and it's all gooped-up something fierce with silicon. That wouldn't last long underwater, but I will sail the boat from the trailer, launching it with a two-ton hoist when the day comes, so I'm not concerned. I have to admit, I'm terribly excited. Building the rudder has been a big job, probably the single "biggest" job on the boat. The rudder is not extremely "fair". There are some bumps and whatnot, and some print-though of the biaxial cloth that I sheathed the redwood core with. However, it is brutally strong, "fair enough for daysailing" and as I'll never see another Piper to race against, I'm not too worried about racing perfection.
FLOORBOARDS and SEATS
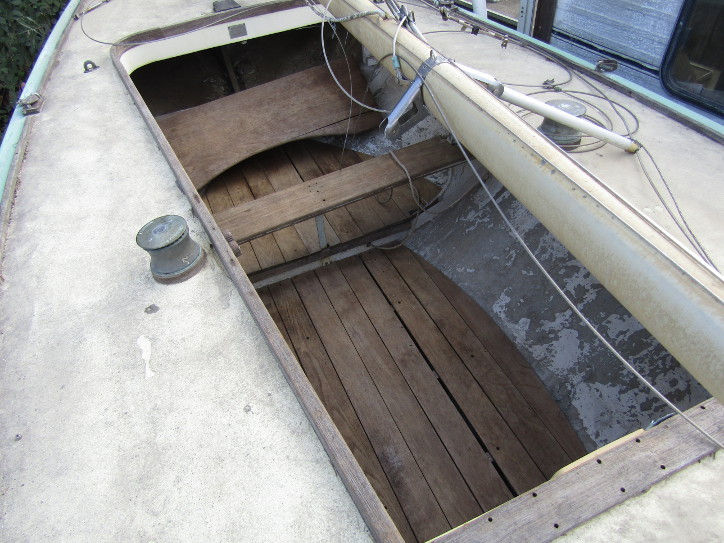
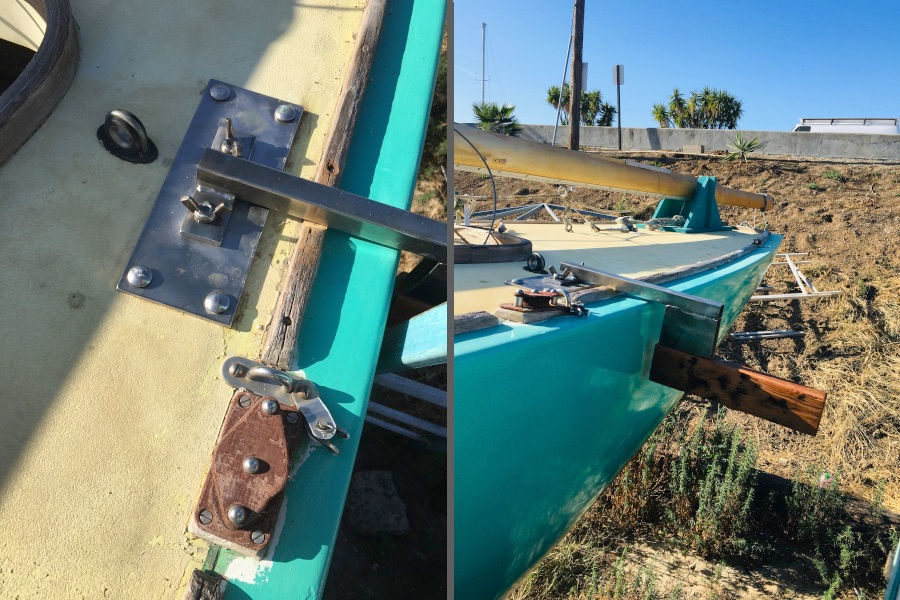
The rudder installation went so well, that I dropped the assortment of floorboards that I had gotten at the beginning, into the boat. I'd given them a good scrub at home, so they looked pretty clean. I even have the little shelves that go under the deck port and starboard (not pictured) aft of the athwartships seat. One needs a bit of repair and they need paint but after assembling everything I realized what they are. I also realize that the two rather crude travelers that I have probably came from the previous owners old Flying Fifteen, and not from the Piper at all. You can see the holes in the athwartships seat for the mainsheet block and stopper. The floorboards will be scrubbed up a bit more, and then left as they are to be screwed down into the supporting beams. The seats will be scrubbed and reinforced/glued as needed and then get a couple of coats of satin outdoor clear polyurethane. Of course the inside of the hull need sanding and fresh paint!
What to do about those winches?


Comments